How to Turn an Image into a Video with AI
A practical guide to animating photos with the right model, motion prompt, aspect ratio, duration, and resolution.
 CreateGlow Team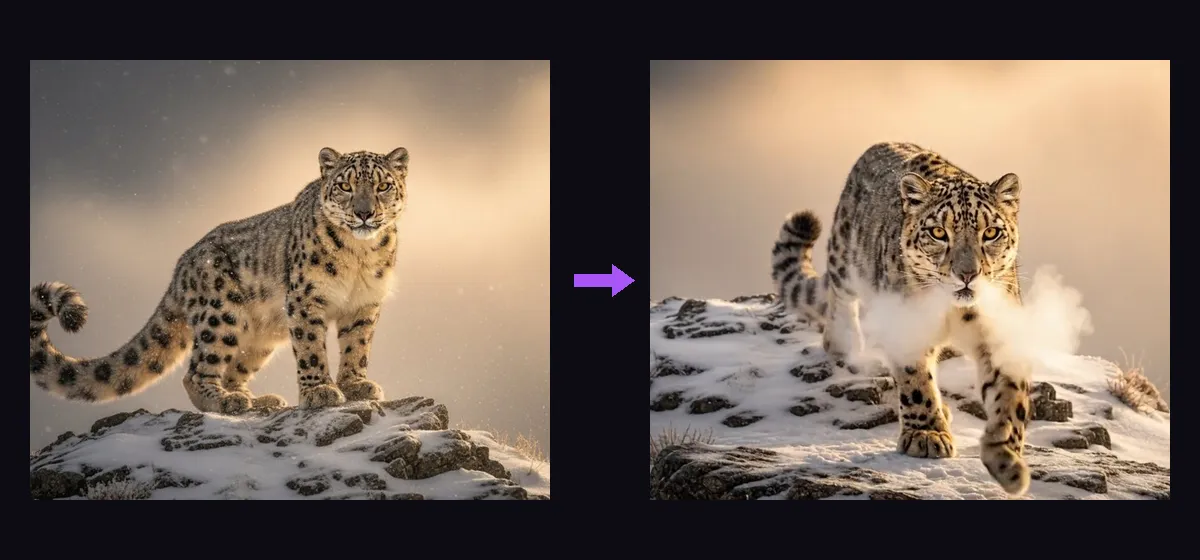
Turning a still image into a convincing video is no longer about adding a slow zoom. Modern image-to-video models can create camera movement, facial expressions, fabric motion, reflections, particles, and synchronized sound. The quality of the result, however, still depends on a few decisions you make before pressing Generate.
This guide explains a repeatable workflow you can use in the CreateGlow image-to-video studio.
1. Start with an image that gives the model room to move
A model can invent motion, but it cannot reliably repair a weak source image. Start with a sharp image, a clearly visible subject, and enough space around anything you expect to move.
- For portraits, keep the face and hands visible and avoid heavy motion blur.
- For products, use clean edges and lighting that reveals the material.
- For full-body motion, do not crop feet or arms out of the frame.
- For camera moves, leave some background around the subject so the model can build parallax.
If the composition needs changing, edit it first in Image to Image, then animate the corrected version.
2. Pick a model for the motion—not just the model name
Different video models interpret the same image differently. A useful starting point is:
- Kling for people, gestures, dance, and expressive character motion.
- Seedance for multi-step instructions, story-like movement, native audio, and higher-resolution finals where supported.
- Veo for cinematic light, camera movement, physical realism, and native audio.
- Wan or HappyHorse for natural materials, fabric, hair, liquids, and native 1080p workflows.
- Grok, Hailuo, or lower-cost tiers for testing several motion ideas before paying for a flagship render.
CreateGlow shows the exact credit cost before generation. Seedance 2.0 and Kling models require a Pro plan or above; other available models can still be used to draft and compare ideas.
3. Prompt the motion, not the appearance
The uploaded image already defines the person, place, color palette, and composition. Repeating all of that in the prompt can make the model fight the source image. Describe what changes over time instead.
A dependable formula is:
Subject action + camera movement + environmental motion + mood or sound
For example:
She looks toward the camera and smiles softly, hair moving in a light breeze, slow dolly-in, warm evening ambience.
For a product shot:
The camera orbits slowly around the watch, highlights travel across the metal edge, fine mist drifts through the backlight, premium commercial lighting.
Use one clear action before stacking several. Once the first motion works, add a second beat or a more ambitious camera move.
4. Choose the format for the destination
Select the aspect ratio before you generate, rather than cropping the finished video later.
- 9:16 for TikTok, Reels, and Shorts.
- 16:9 for YouTube, websites, and presentations.
- 1:1 or 4:3 for feeds, product cards, and editorial layouts.
- 21:9 for cinematic scenes when the chosen model supports it.
Short clips are easier to control. Start at 5–8 seconds, confirm the motion, then move to a longer duration. Use 480p or 720p for drafts and reserve 1080p or 4K for the final version when the model supports it.
5. Draft cheaply, finish deliberately
One premium attempt is rarely better than a short iteration loop:
- Generate a lower-cost draft to test the action and framing.
- Change only one variable—prompt, model, duration, or camera movement.
- Keep the version with the most natural motion.
- Run the winning setup on the final model and resolution.
This workflow makes failures easier to diagnose and protects your credits. CreateGlow also refunds credits automatically when a generation fails.
Common problems and quick fixes
The face changes
Use a sharper source image, reduce sudden head turns, and describe subtle expression changes before asking for complex body movement.
Hands or limbs distort
Avoid starting with hidden or cropped limbs. Reduce the number of simultaneous actions and try a model known for character motion.
The camera ignores the prompt
Put the camera instruction near the beginning: “slow dolly-in,” “locked-off tripod,” or “gentle orbit right.” Do not combine several conflicting camera moves.
The result feels like a slideshow
Add environmental motion—hair, fabric, water, dust, light, or background activity—and specify how the camera should move through the scene.
Before you publish
Only upload media you have the right to use. Check the final video for identity changes, unwanted text, logos, or artifacts, and disclose AI use where a platform or client requires it.
Ready to try the workflow? Open Image to Video, upload one image, and start with a single clear motion.